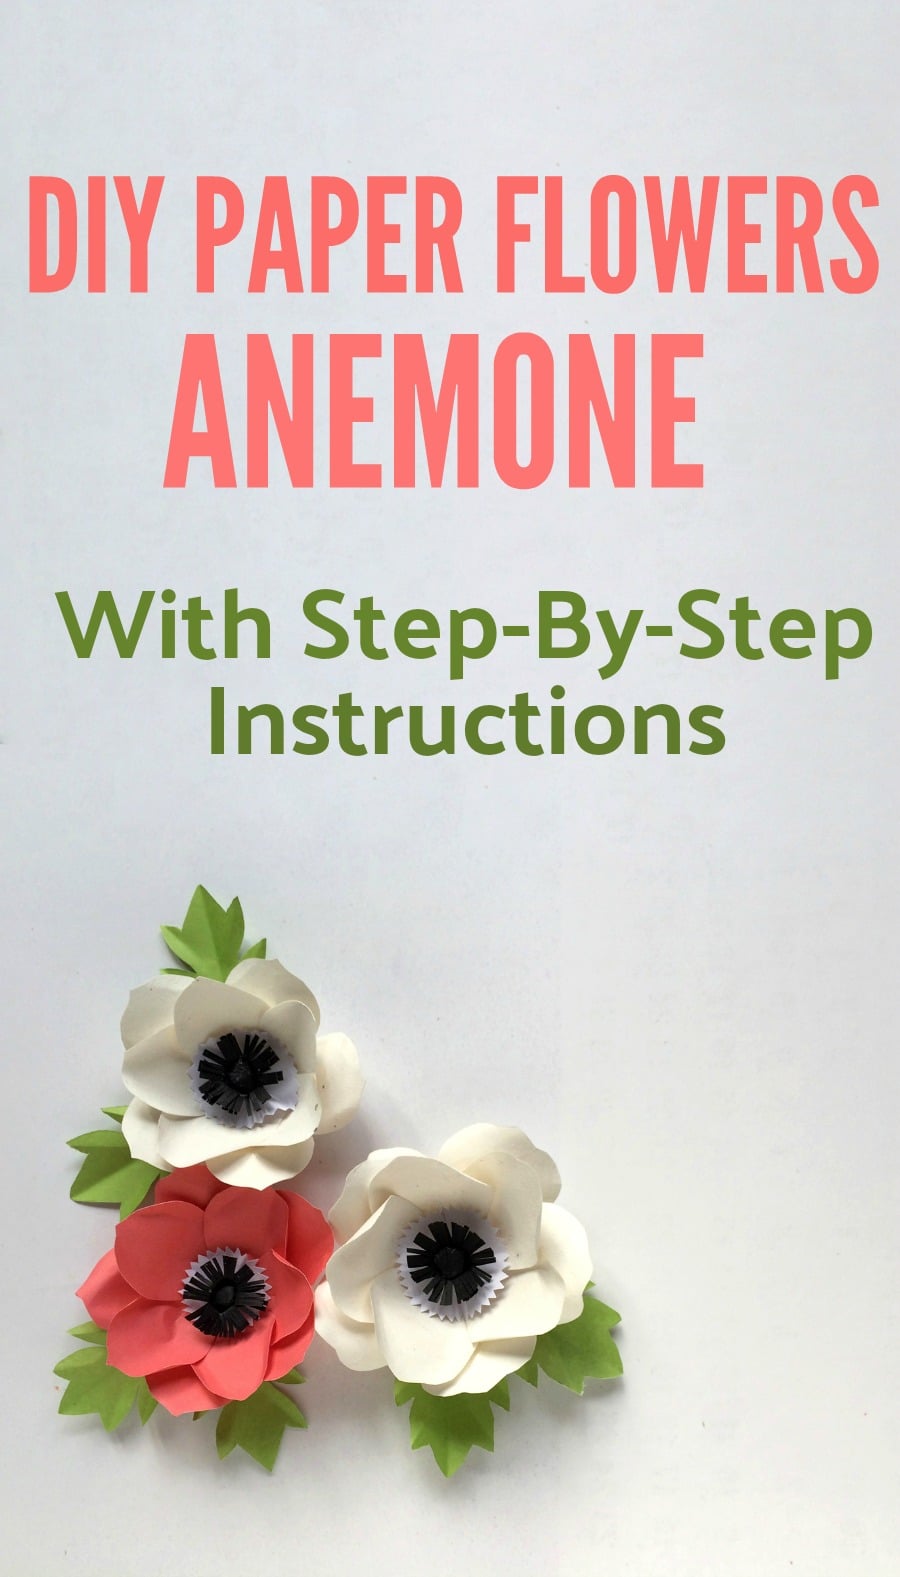
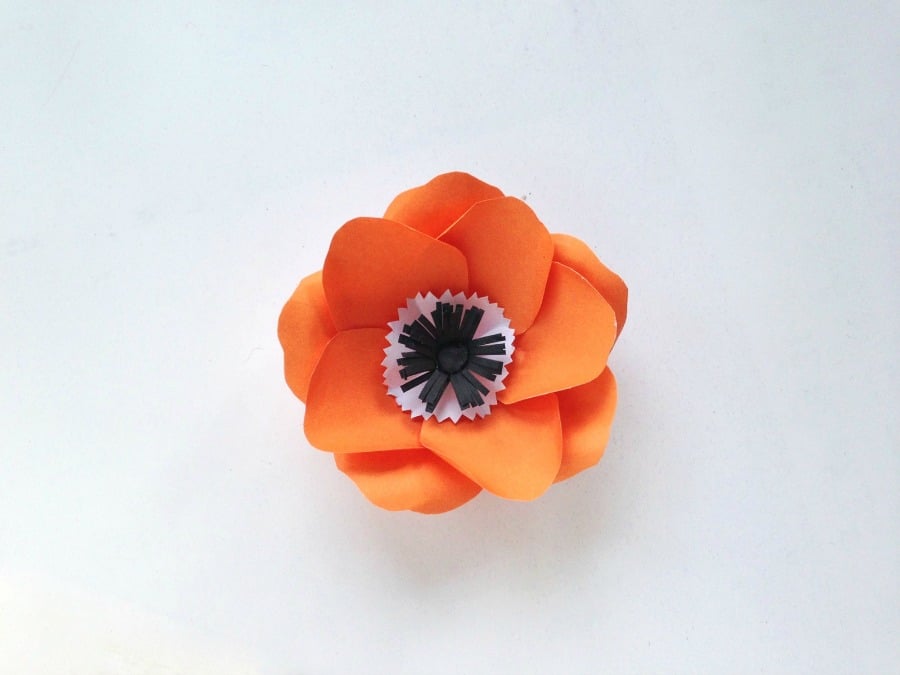
Paper flowers and giant paper flowers are some of the most beautiful crafting creations out there. We absolutely love the look of DIY paper flowers and they are so versatile for decorating, gifts, party decorations and more. Whether you are a crafting expert of beginner these DIY anemone paper flowers will be a favourite go-to when you are looking for a creative outlet or craft project. Looking for more paper crafts? Try our DIY Paper Tube Owl Craft or for little crafters try these DIY Paper Tube Critter Craft – it’s sure to engage even the most reluctant crafter.
How to Make DIY Paper Flowers
While paper flowers may seem like a craft that is intimidating and too delicate for everyone to participate you will find that with the right supplies, a couple of helpful tips and a template to work from your paper flowers will be something you are proud of. Not sure what an anemone is? Check out this description of the Anemone, also known as the wind flower.
DIY Paper Flowers: Anemone
With only a few supplies this craft is easy to put together and make.
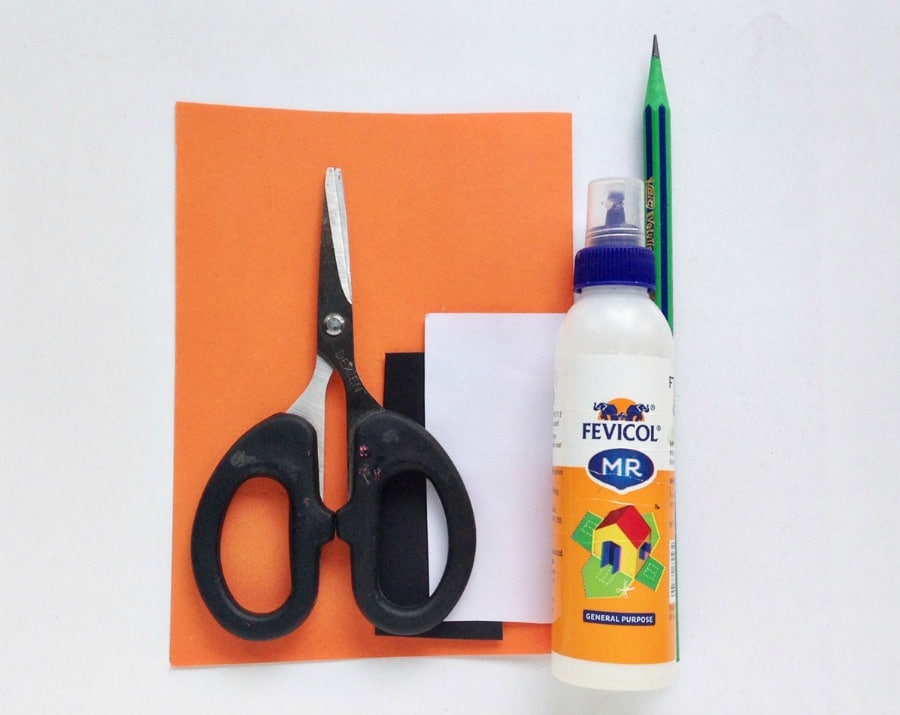
DIY Paper Flowers Anemone Supplies:
- Coloured craft paper – including black and white
- Scissors
- Craft glue
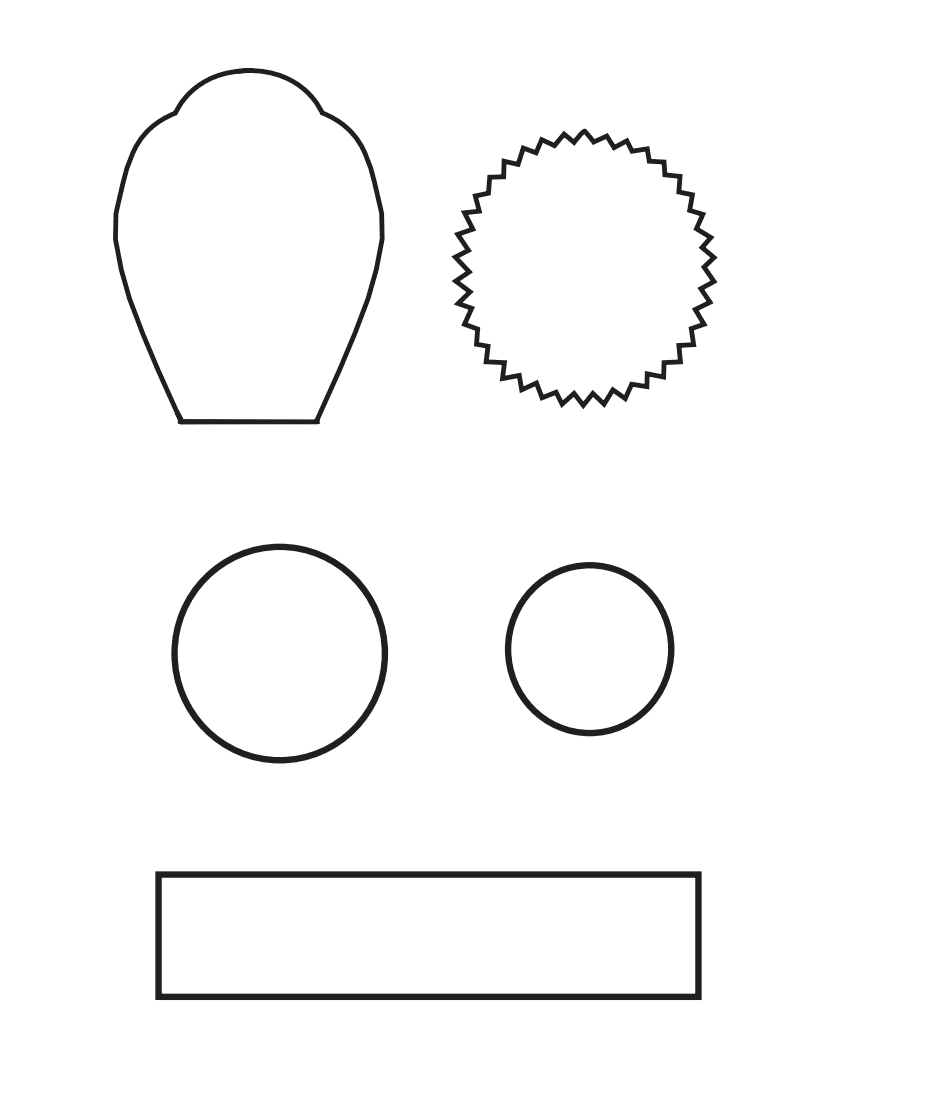
- Template
DIY Paper Flowers Anemone Process:
Step One:
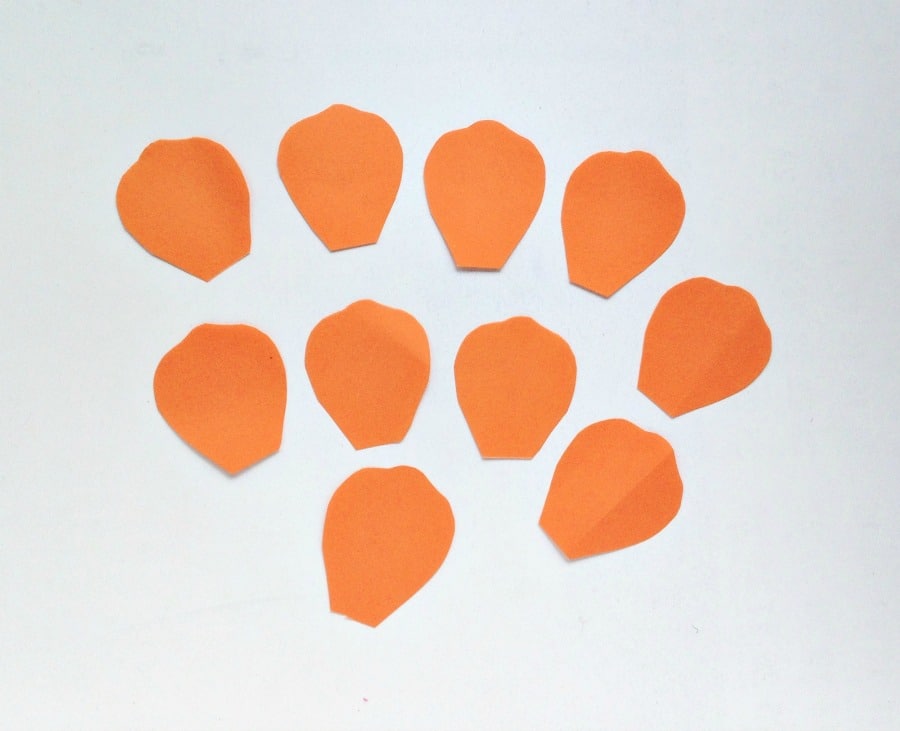
Print and cut out the petal pattern from the template. The template is set for A4 size paper. Trace the petal pattern on the selected craft paper and cut out 10 petals from it.
Step Two:
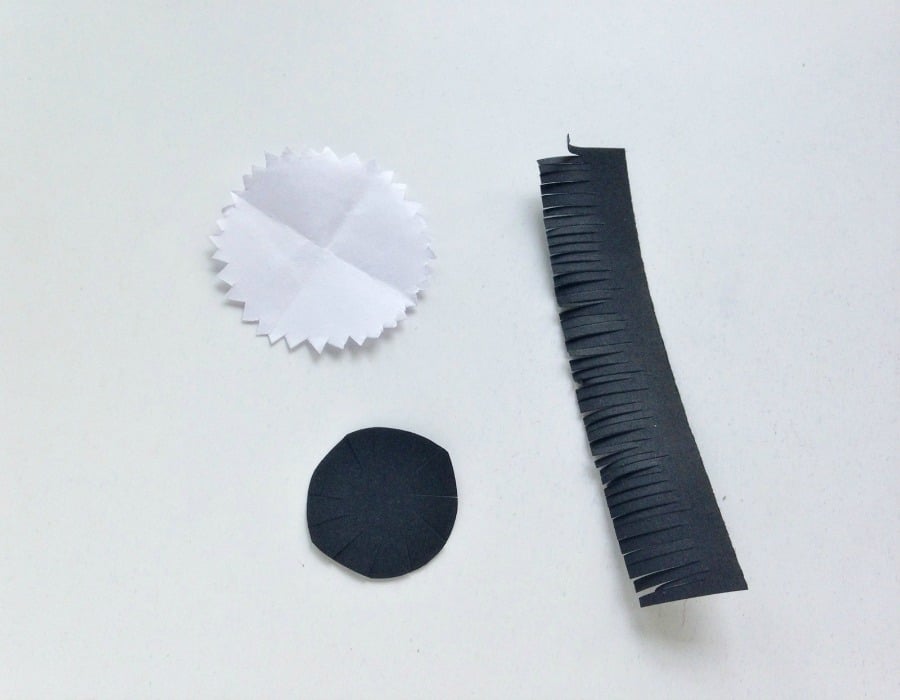
There are 3 more patterns on the template. Trace and cut out the round pattern with zigzag edge from white craft paper. Trace and cut out the 2 other patterns from a black craft paper. Cut small and even fringes on the long black strip.
Step Three:
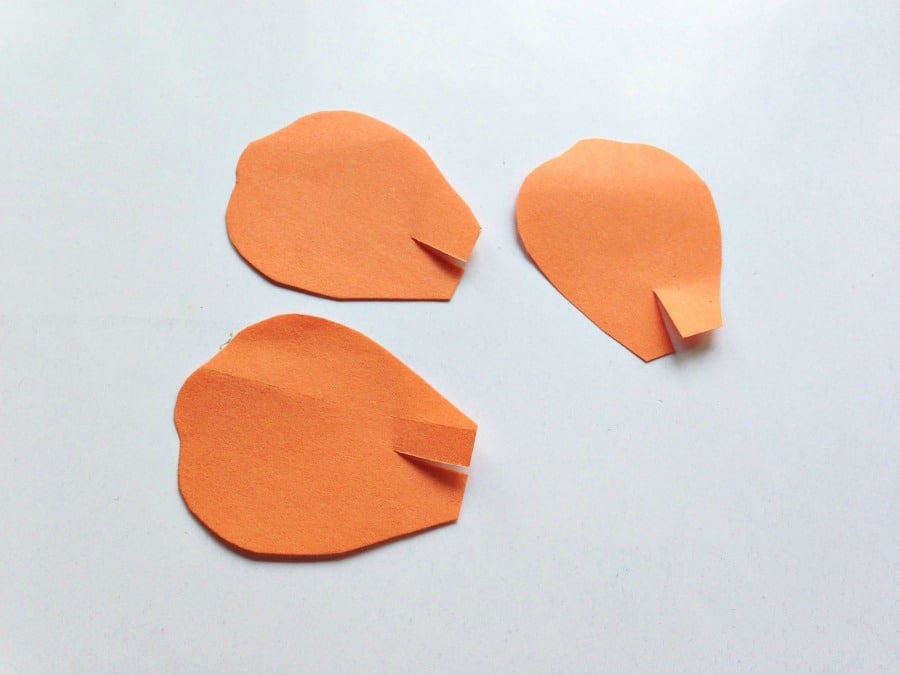
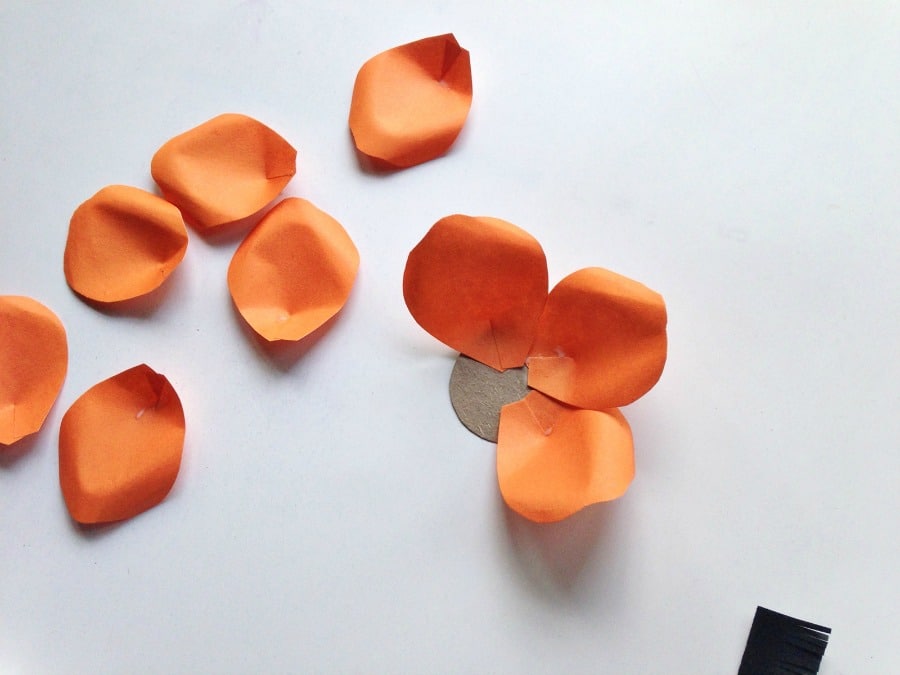
Take a petal and cut a small slit (1 cm) from its bottom end.
Step Four:
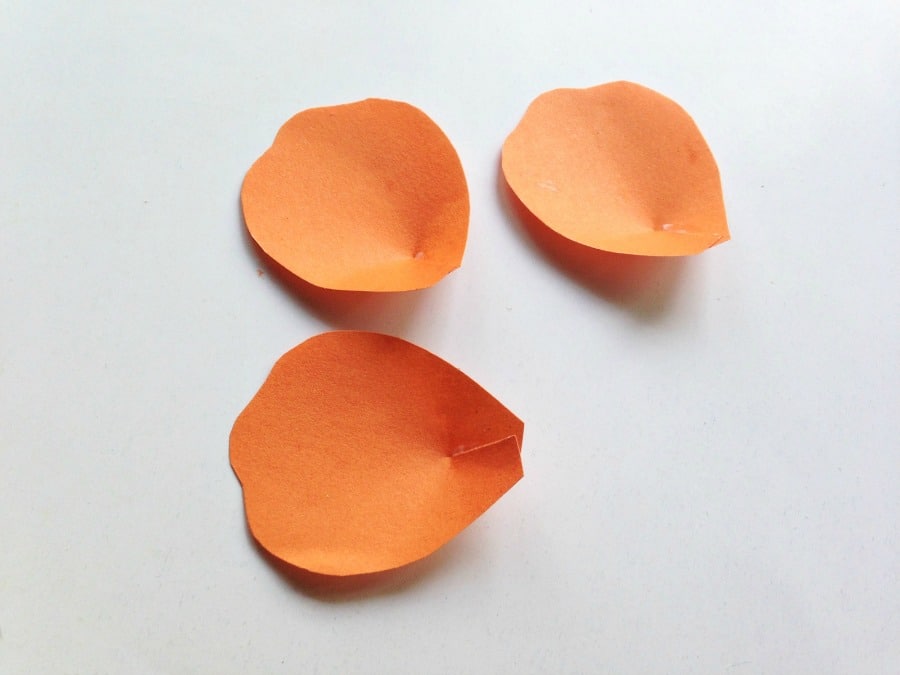
Bring both sides of the slit by overlapping them, and apply glue to secure the joint.
Step Five:
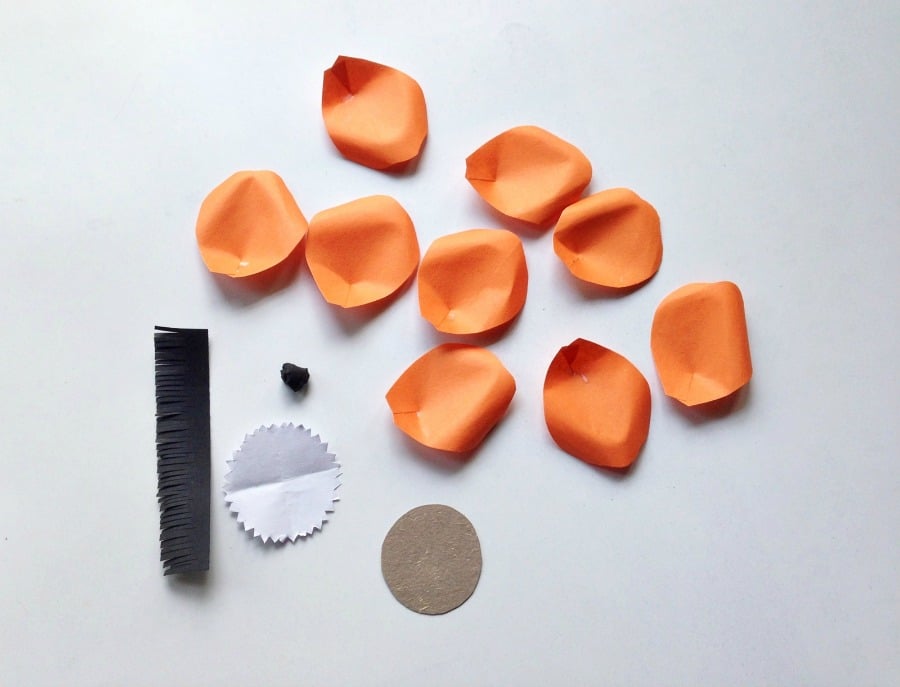
Do the same for the rest of the petals. Crumble the round black craft paper into a ball shape. Cut out a round pattern around the same size of the black round pattern. This piece will be the base.
Step Six:
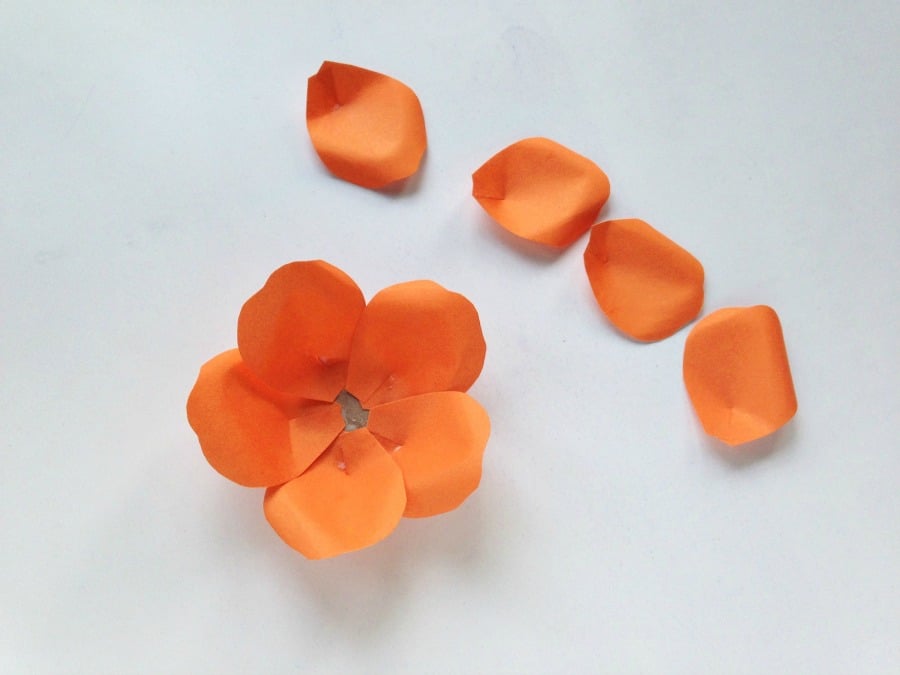
Take the petals one by one and glue them on the base. Start to glue the petals from the outer edge of the base.
Step Seven:
Glue 5 petals for the first outer layer.
Step Eight:
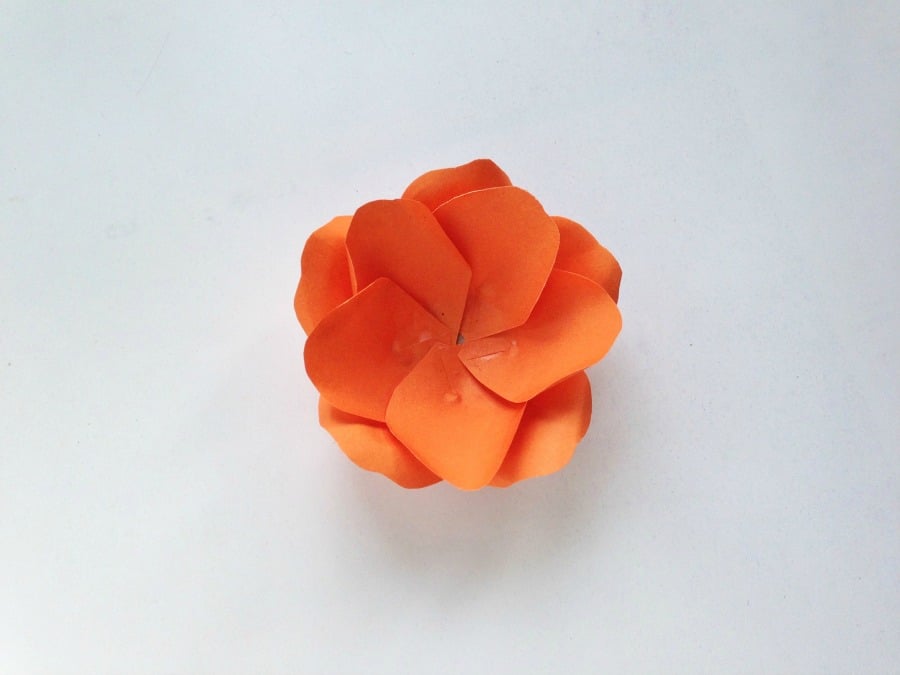
For the second inner layer glue the rest of the 5 petals. Make sure that the second layer partially overlaps the first layer, not entirely.
Step Nine:
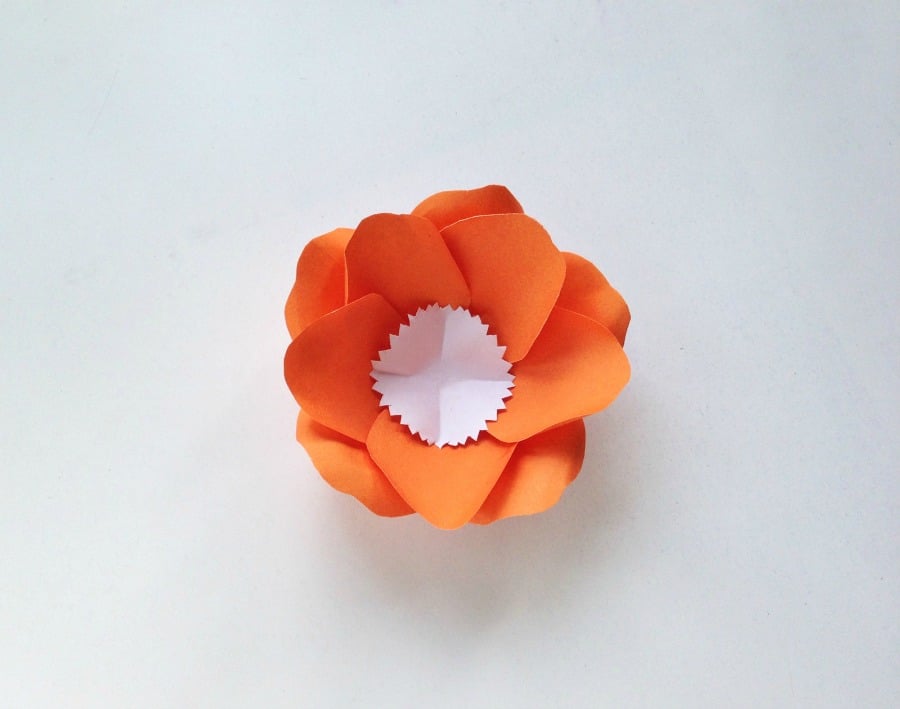
Done glueing the petals? Now take the white round pattern and glue it on the middle of the second petal layer.
Step Ten:
Take the black fringed pattern and roll it entirely; apply a small amount of glue at the end of the roll t secure it. Glue the rolled fringed pattern on the centre of the white pattern. Spread the fringes carefully and then glue the black crumbled ball pattern on the centre.
Step Eleven:
Use green craft papers to create the leaves.
The result is a finished product you will love and I’m sure you will start creating lots of other DIY paper flowers. Wouldn’t these be perfect on a wreath, as a table setting or on top of a gift? so beautiful and unique.
Happy crafting!

How lovely! I have never seen such a detailed paper craft. I plan to share this with my artistic teen daughter so she can give them a go.
Marcie W. recently posted..3 Motorcycle Jackets That Will Keep You Safe And Stylish
Thank you – I’m sure she will love it!
This looks like such a fun project to do. I love making flowers out of paper with my kids. It’s easy and entertaining for us all. I will have to try to make a paper flower bouquet out of this!
These are super cute. I can’t wait to try to make them.
What a great project for any holiday! I used to do these when I was in high school.
Those are so pretty! We used to do all sorts of things like this growing up. I have to share this with my kids now. A really cute project when they are complaining of being “bored”!
Yes! That would be perfect!
They are so realistic. My daughter would enjoy trying them.