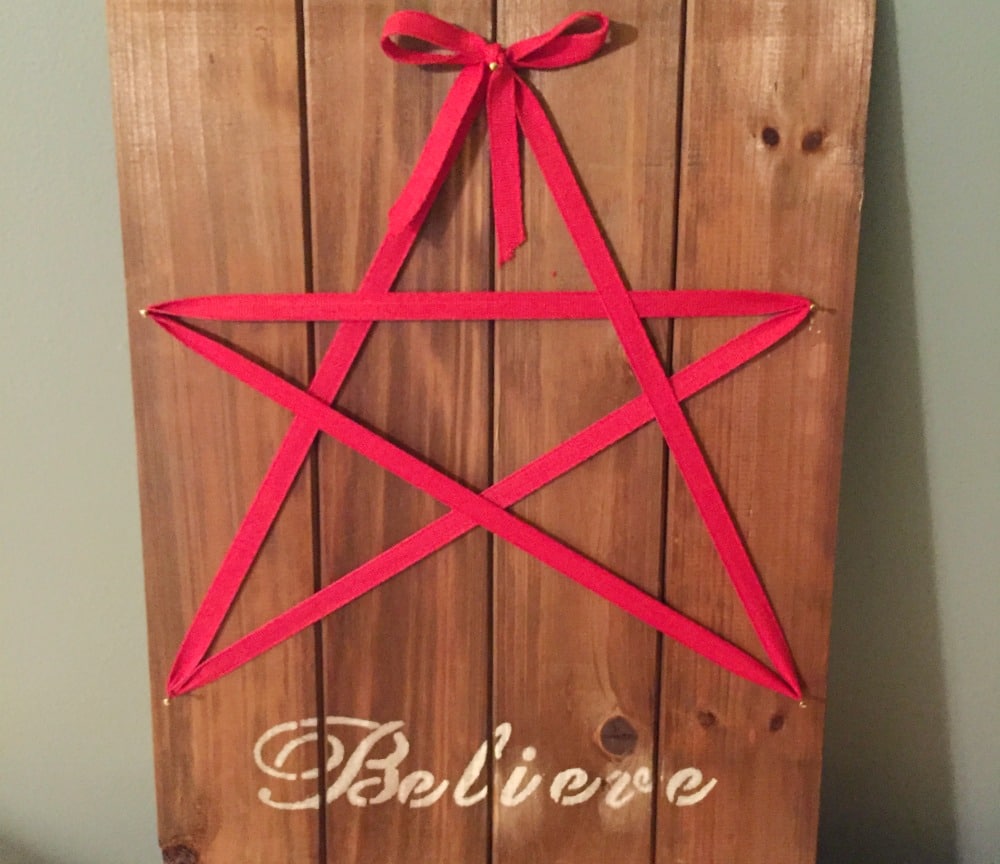
If you love to make your own holiday decor or make your gifts then you will love this easy DIY Holiday Star Sign.
With just a few steps you will have a beautiful sign done in under 30 minutes.
Customize the lettering, choose a ribbon that matches the decor and creates something unique and beautiful.
I love any reminder to believe in the magic of Christmas and this is perfectly adorable on a wall, table or as part of your mantel.
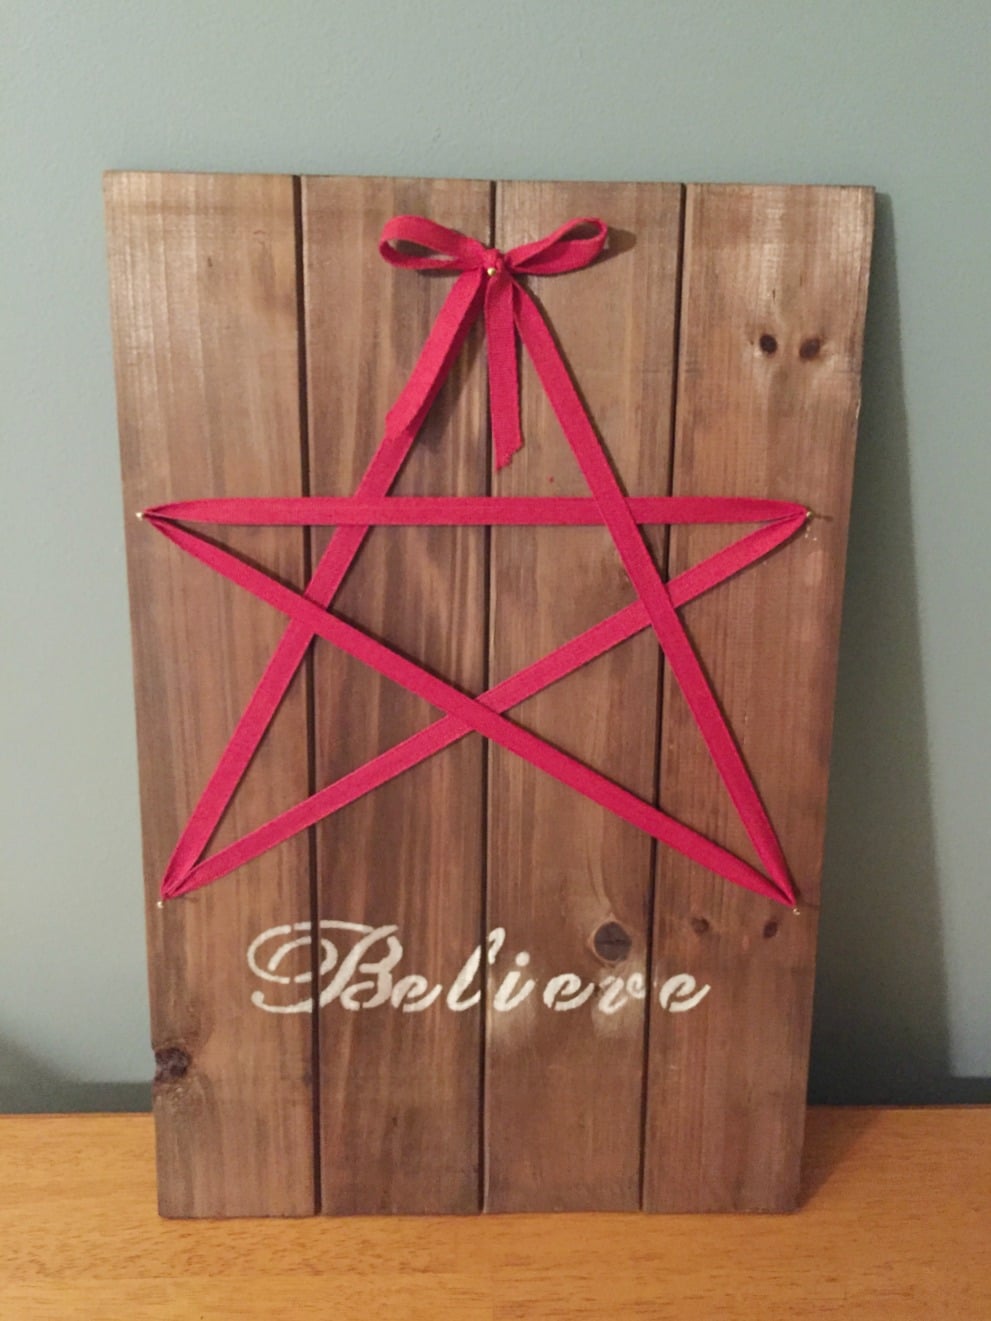
DIY Holiday Star Sign Supplies
- wooden board
- 5 finishing nails
- ribbon
- white acrylic paint
- letter stencils
- foam brush
- hammer
- tape
- scrap paper
- pencil
DIY Holiday Star Sign Instructions
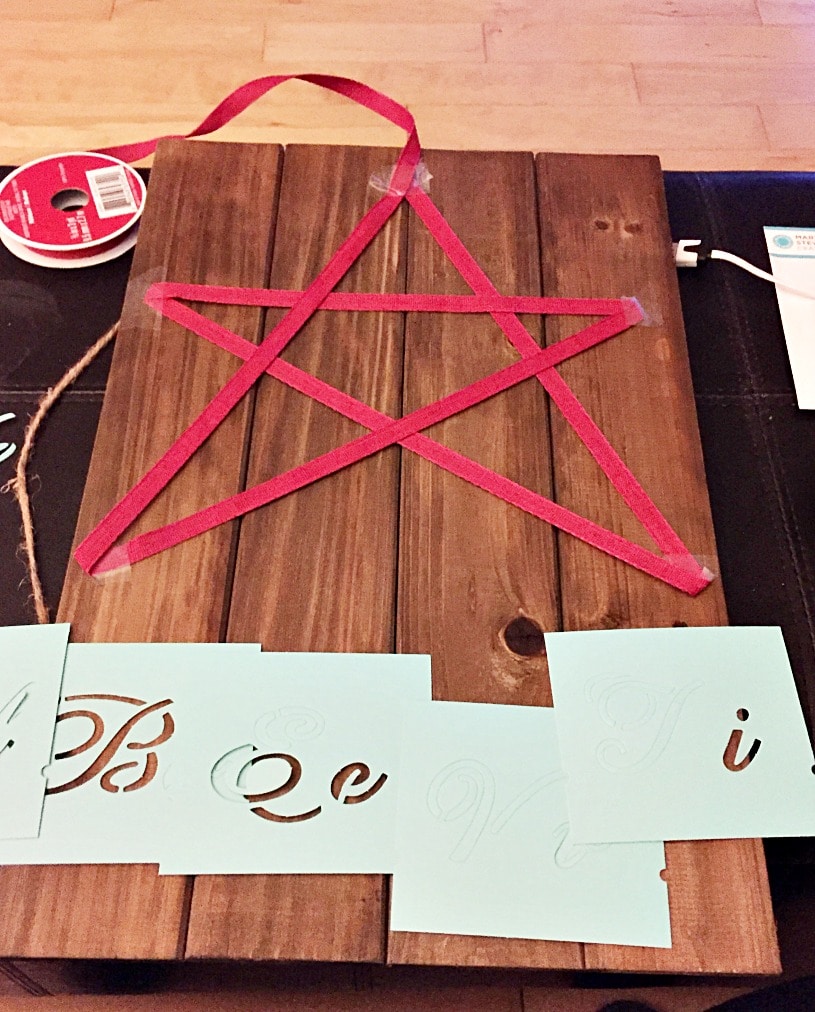
1) Tape ribbon in place on wooden board for measure out spacing.
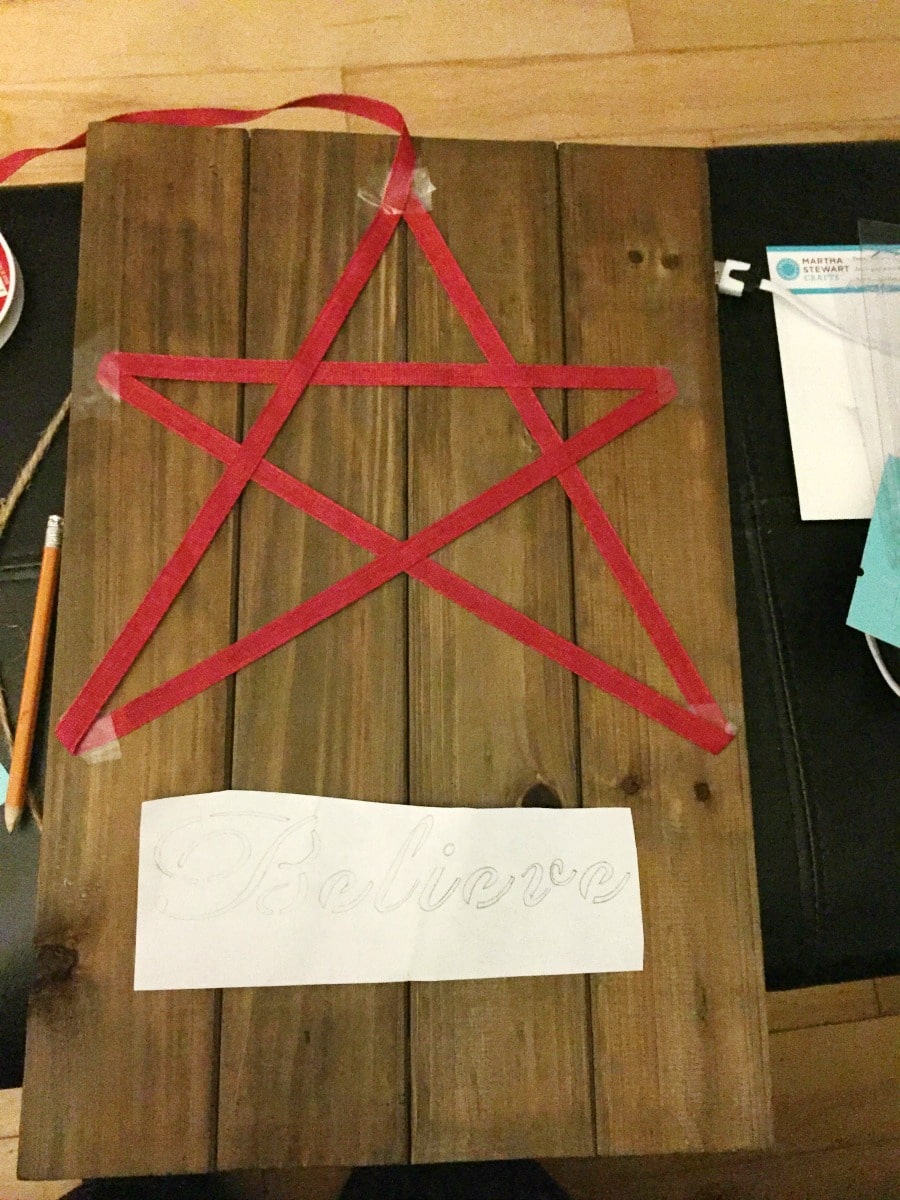
2) Trace desired word on scrap paper using the letter stencil
3) Use the word on scrap paper to check placement and spacing of letters before stenciling with paint
4) With a pencil mark on wood board where the word will go.
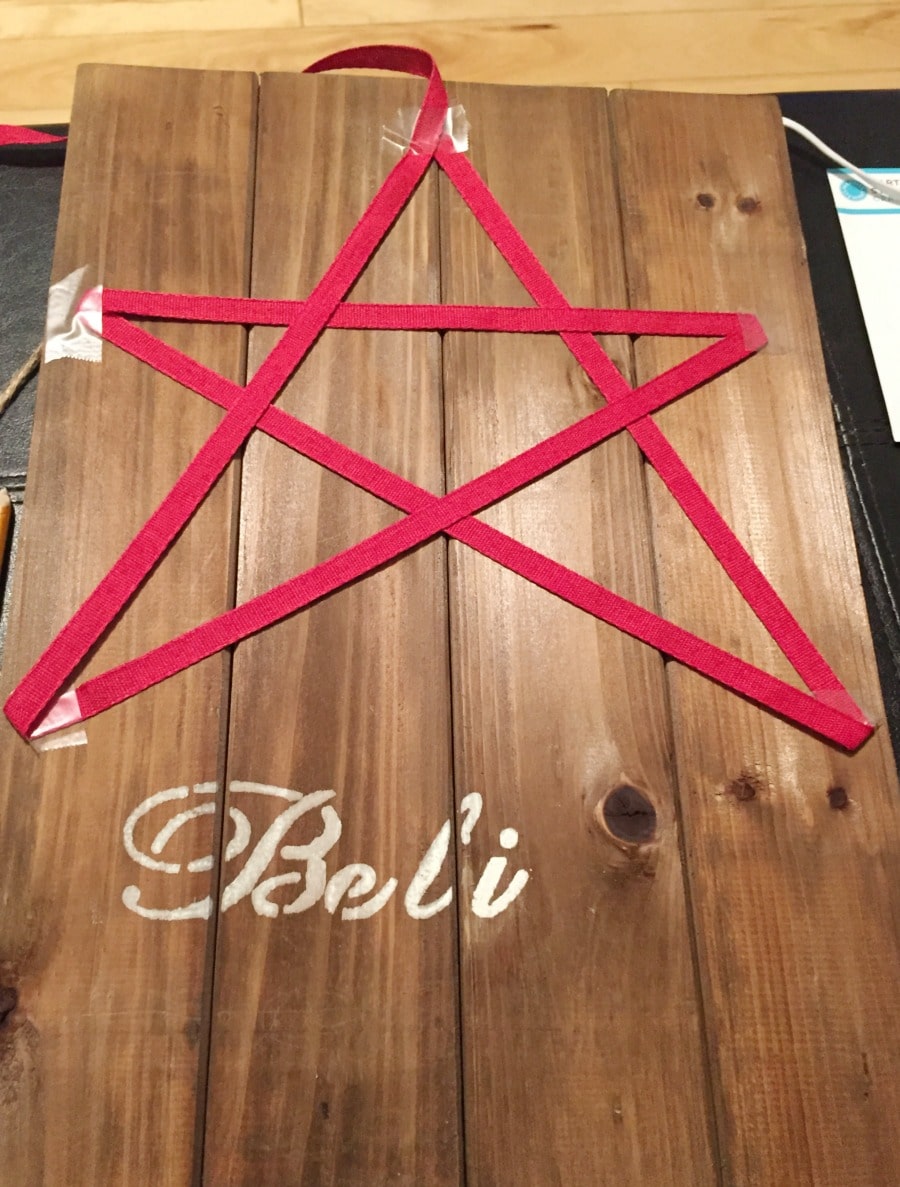
5) Remove scrap paper and place first stencil letter in place. Holding letter in place dip foam brush in paint and lightly dab on the stencil. Remove stencil and let the paint dry. Repeat until the word is complete.
6) Nail finishing nails in place where you taped ribbon.
7) Loop ribbon around nails to make a star and tie in a bow.
The result is a beautiful custom sign that is perfect for the holidays.
Plus, you could easily customize this for other occasions or decor. Easy and fast to make the DIY Holiday Star Sign is a great DIY project.
Love this post? Check out some of our favorite DIY projects – all of which take 30 minutes or less to create:
What is your favorite DIY Project?

Leave a Reply