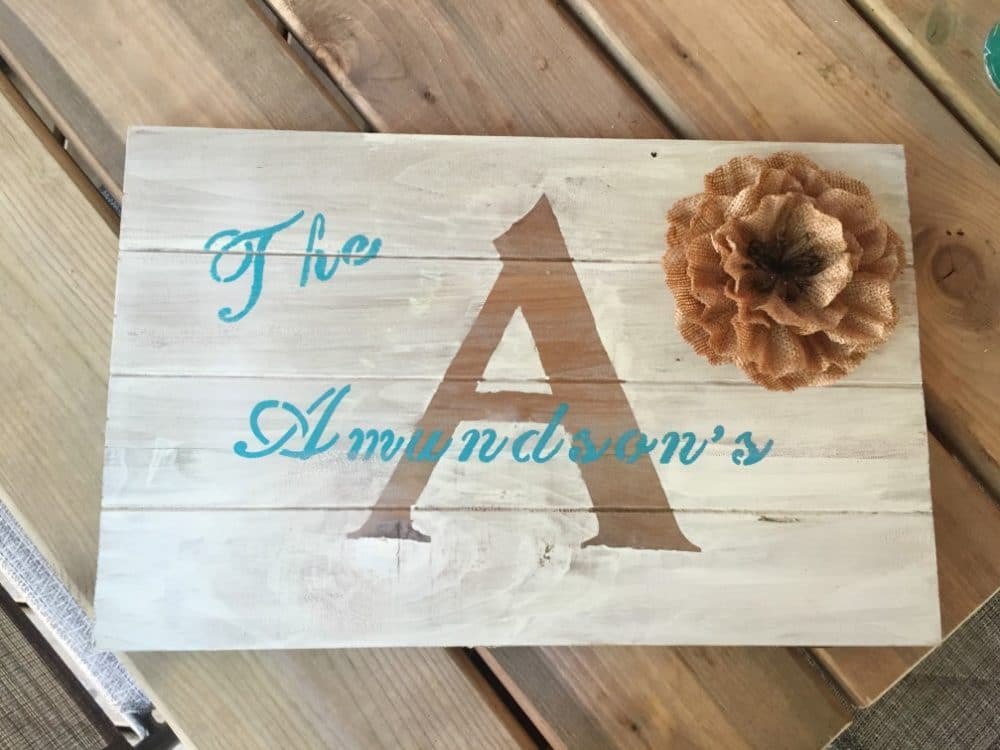
Looking for a fun DIY project? A gift for someone with a new home? Or newlyweds? This beautiful and easy to make Personalized Wooden Sign is a great gift and can be made in a couple of hours. The perfect afternoon project!
DIY Personalized Wooden Sign
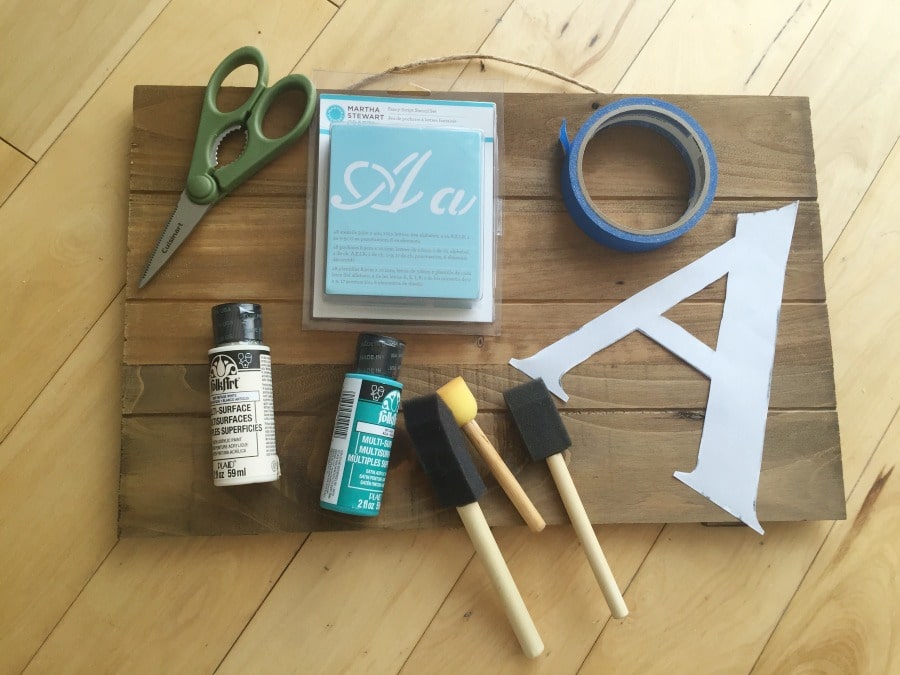
What you will need:
- Painters Tape
- Stencil letters
- Cut out large paper letter
- Sponge paint brushes
- Two colours of Folk Art pain
- Scissors
- Wooden pallet
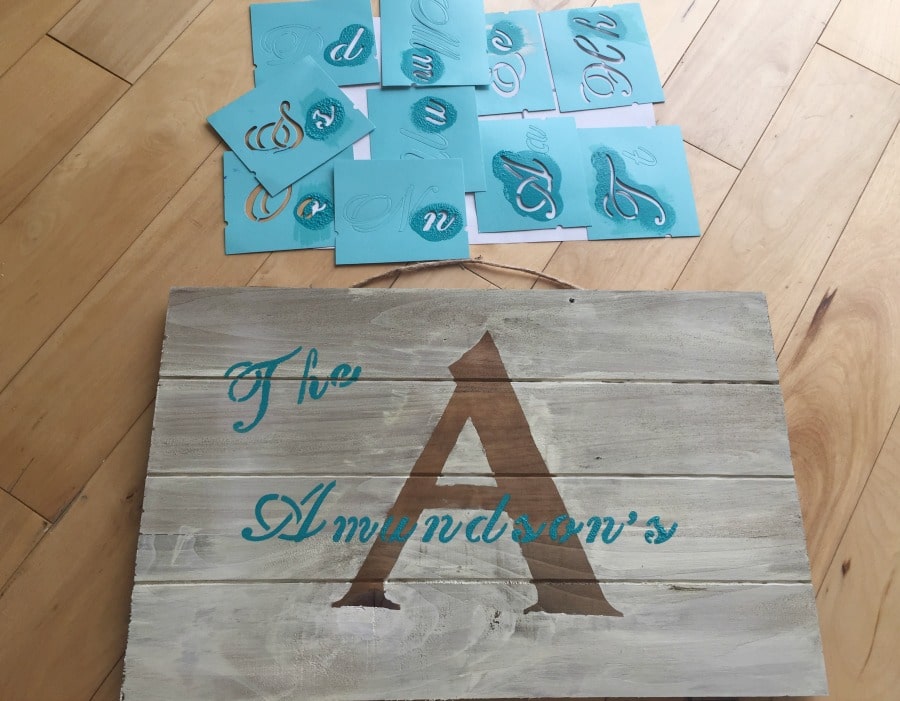
1. Print off letter of desired style and shape. Cut out the letter and use as stencil.
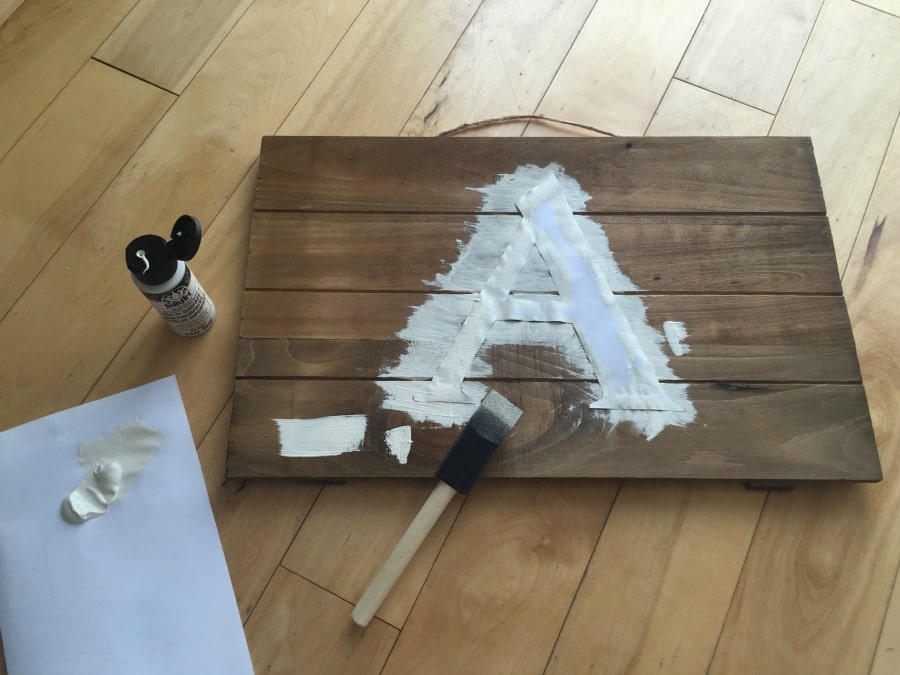
2. Using painters tape, tape down stencil in middle of the wooden sign. Making sure to tape the inside edges well so the stencil won’t move around too much.
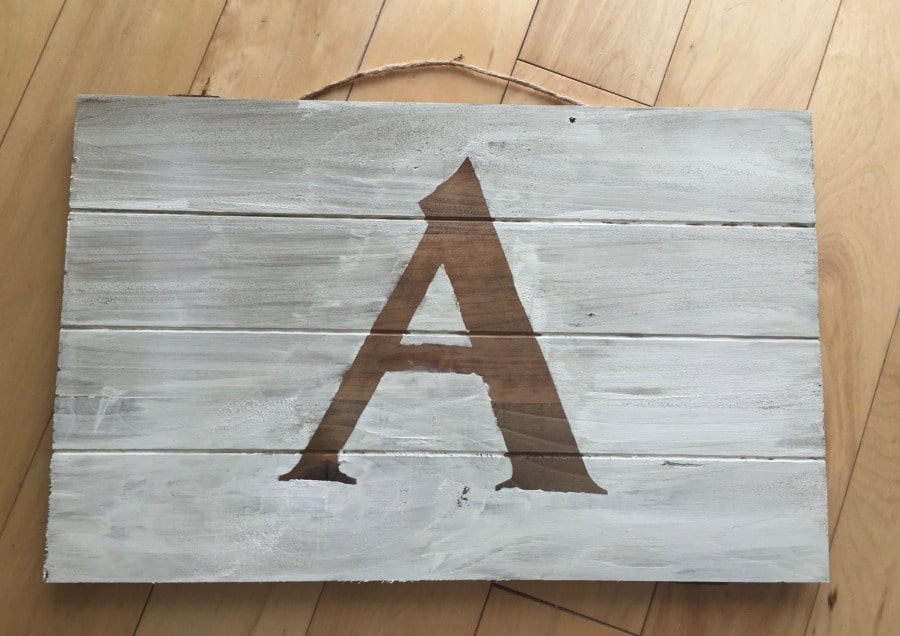
3. Using a foam brush and paint the background of the sign. Making sure to paint away from the stencil to prevent minimal paint going under the stencil. (I used multi- surface Acrylic paint as this sign is to be hung outside.
4. Using smaller and sturdier stencils. Spell out the name that is to be on the sign.
5. Using one letter at a time, paint using a foam stencil brush and your chosen colour of paint. Dab the stencil until completely covered.
6. Pick up stencil right away then wait a few minutes for drying time before repeating with the next letter.
7. One all letters are completed. Let dry and then using a sanding block. Sand sign for desired distressed look.
8. I added a pre made burlap flower to the top right corner of the sign for a little decoration. Before glueing the flower down with a water proof adhesive. I sprayed the flower with water proofing so it will continue to hold its shape even in the rain.
The result is a fun, unique and personalized sign that will be can be modified and adapted for your home, cottage, trailer or classroom.
If you loved this DIY Personalized Wooden Sign look for more fun DIY projects check out our DIY Photo Display, DIY Rustic Wooden Flag, DIY Fabric Stamping and DIY Necklace Organizer.

yup i would love to create a letter M and put it on the main gate to welcome my friends….loved