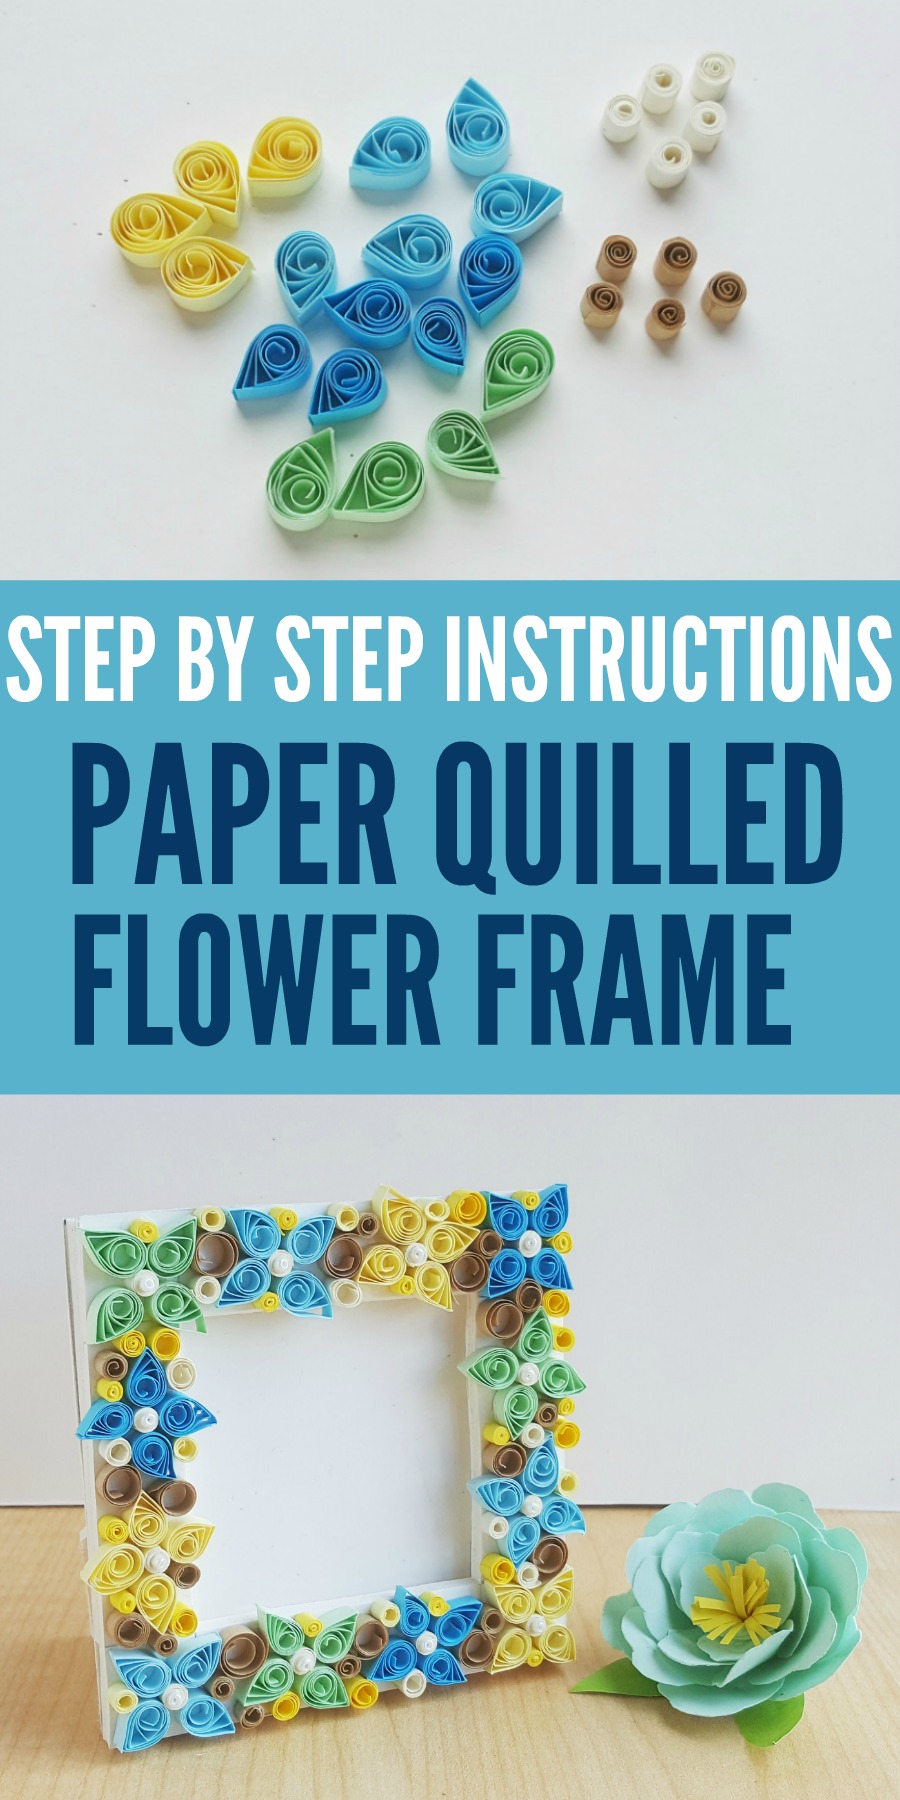
Paper quilling is one of the most beautiful of paper crafts. The end result is beautiful quilled flowers that adorn a frame – the perfect addition to your decor or a beautiful gift for a friend or loved one. Once you’ve made one you will be inspired to make a whole variety of paper quilling projects. Follow these simple step by step instructions and you have a beautiful paper quilling flower frame. Love paper crafts? Try our beautiful paper flower anemone craft or one of our kids’ crafts designed for little hands.
Paper Quilling Flower Frame
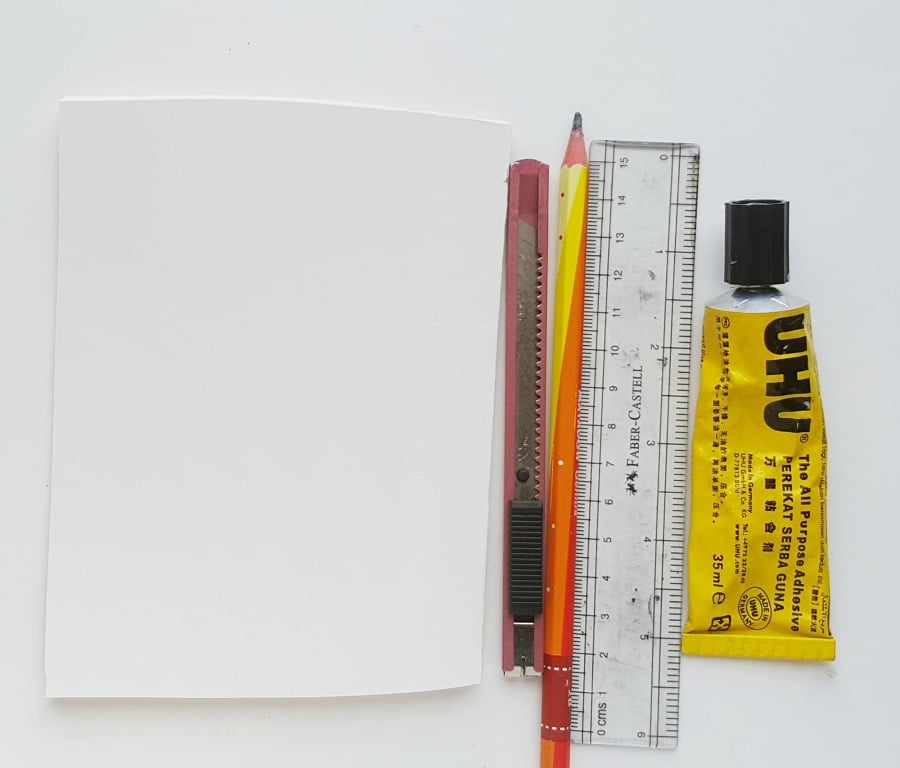
List of Supplies (For the Frame):
Foam board
X-ACTO Knife
Ruler
Pencil
Super Glue
Template
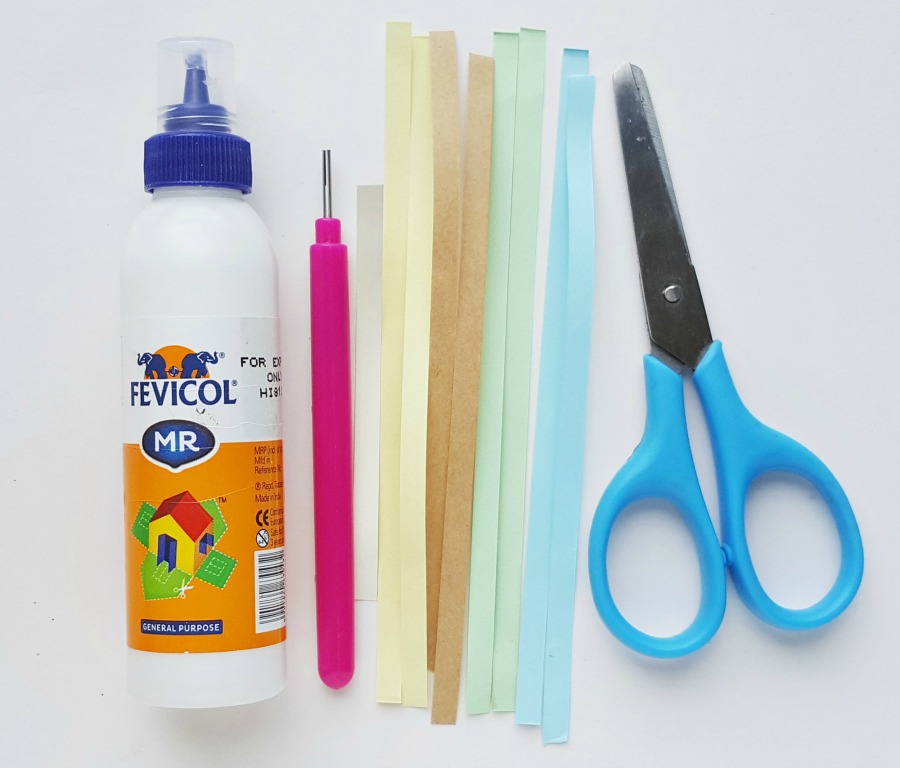
List of Supplies (For Decorating the Frame):
Quilling paper strips
Craft Glue
Scissors
Slotted quilling tool
Instructions:
Step (1) – First of all, decide the size of the frame and customize the template size accordingly. Trace the patterns from the template (download and print this form) on the foam board and cut out the traced patterns with an X-Acto knife.
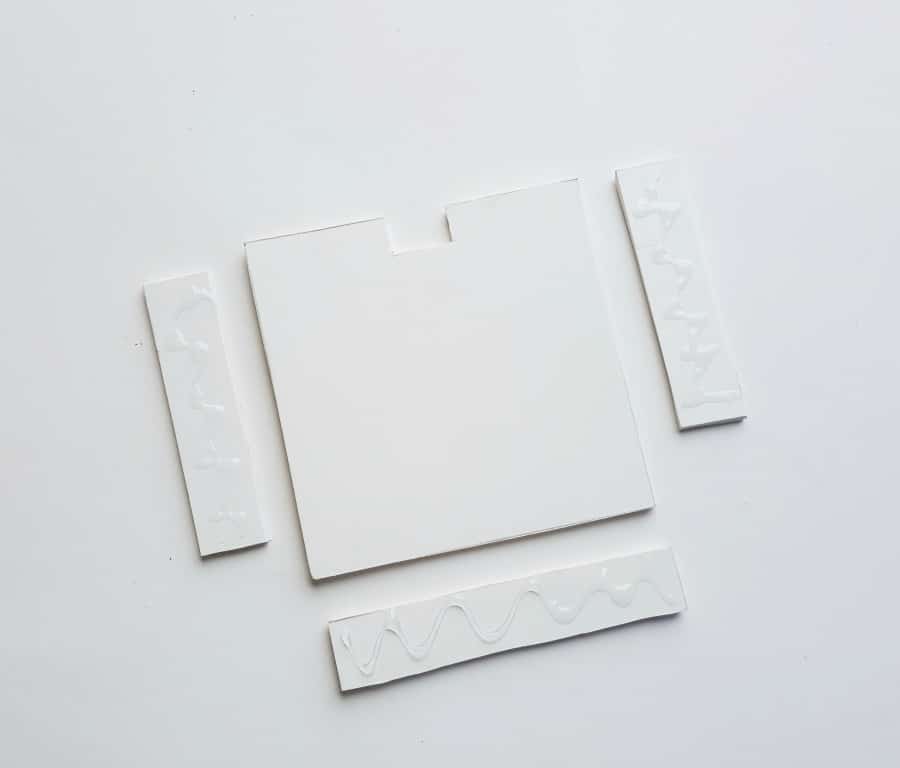
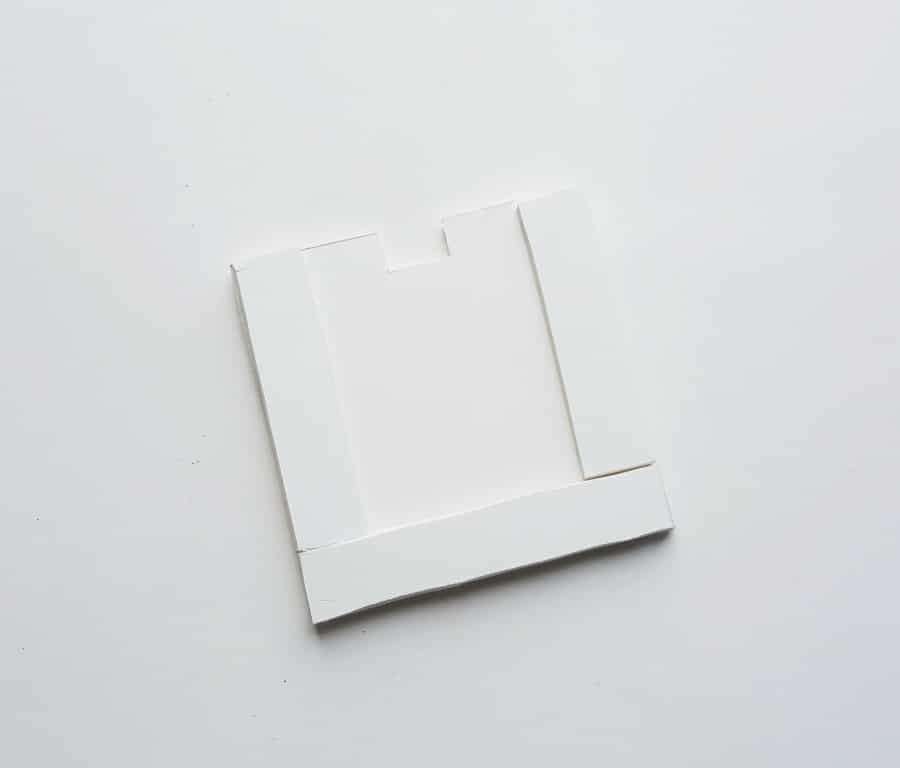
Step (2) – Take the back piece, the bottom piece, and the 2 side pieces. Apply glue on any of the sides of the 2 side and the bottom pieces.
Step (3) – Place the glued side of the pieces (sides and bottom) on the back piece, on their places. Make sure to place the side and bottom pieces nicely on their position.
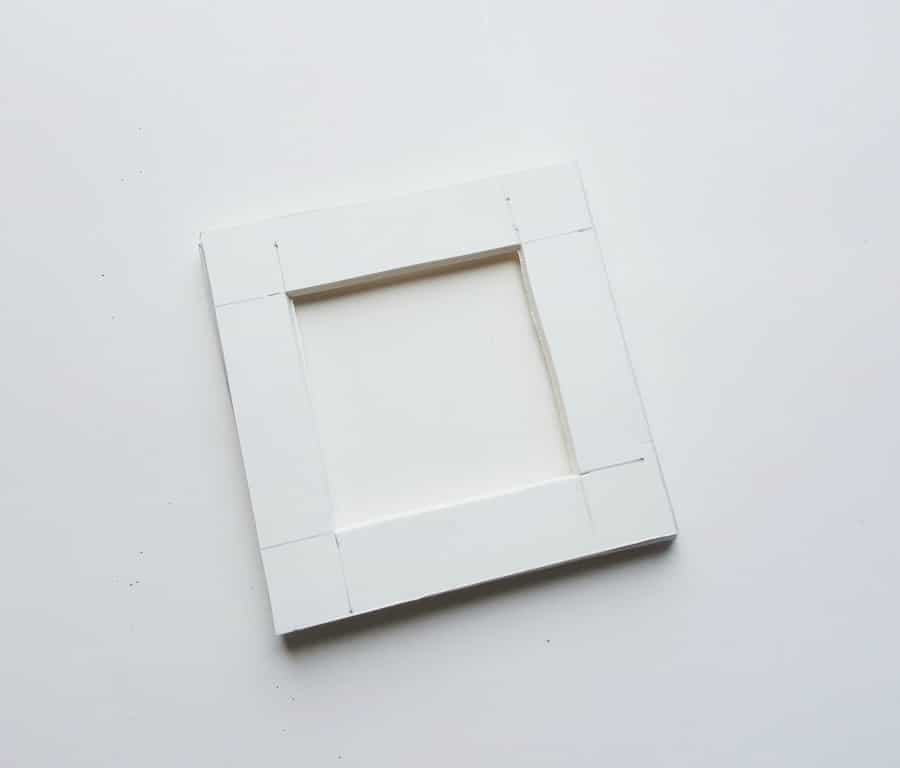
Step (4) – Now apply glue on the 2 sides and the bottom part. Carefully place the front piece (the frame) on the glued area, making sure that all sides of the frame are matched with the back and middle part of the frame.
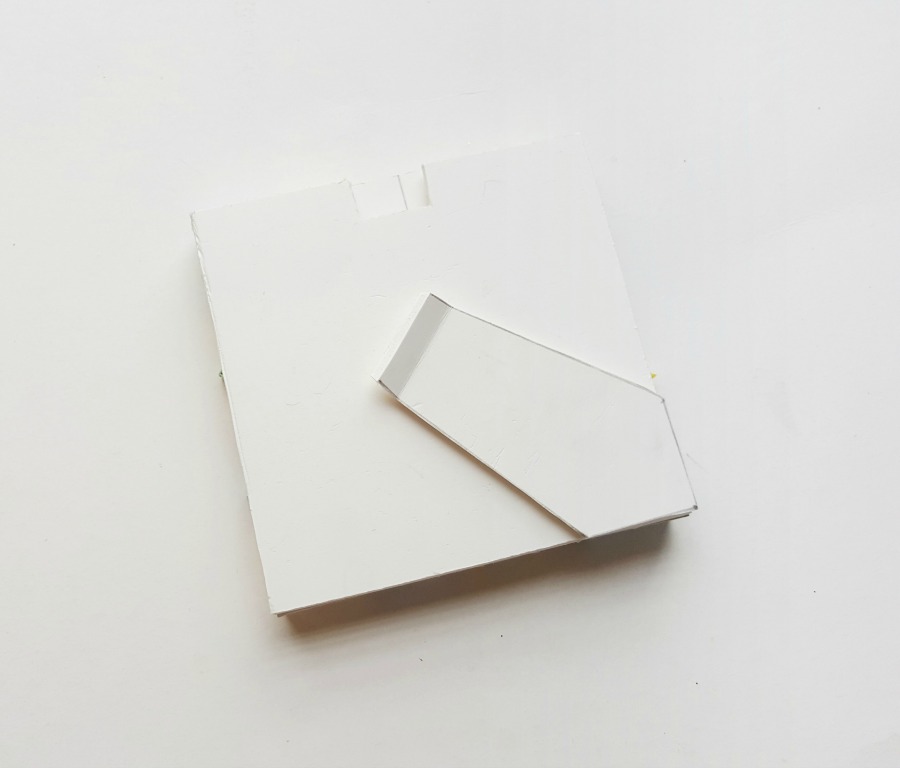
Step (5) – Take the stand piece and make a small half cut, 1cm below the straight part of the stand. Apply glue along the 1 cm part, right above the half cut.
Step (6) – Match the arrowhead bottom part of the stand with any one side of the frame’s bottom corners and attach the glued part with the frame. Allow the glue to dry.
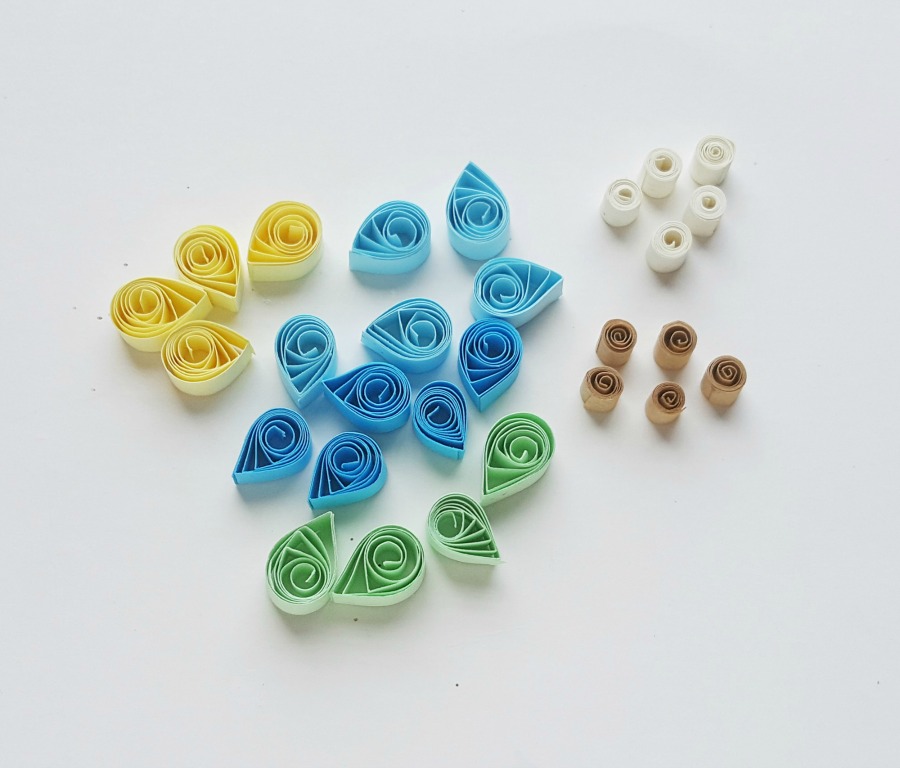
Step (7) – For the paper quilling, we will basically use 2 shapes; basic eye pattern and coil pattern. We’ll need both loose and tight coils. Select different colored paper strips for the quilling and prepare the shapes
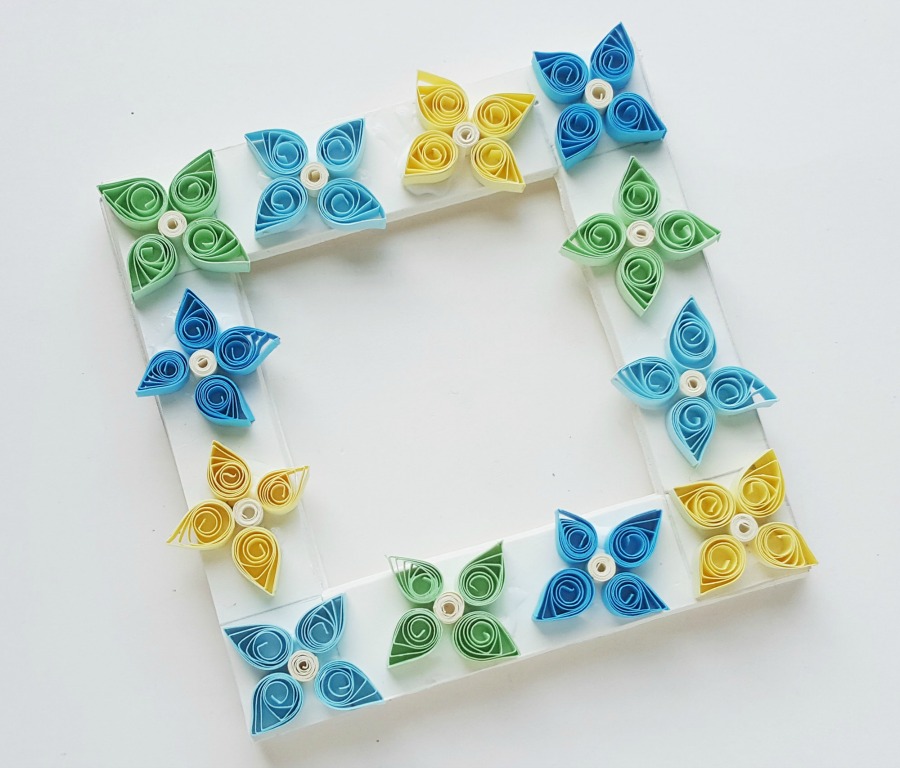
Step (8) – Done preparing the shapes? Now you can start decorating the frame. Start from a corner. I glued a tight coil on the top left corner of the frame. This will be the center of the first flower.
Step (9) – Glue 4 eye patterns on 4 sides of the tight coil glued in the previous step. Simply glue the shapes on the frame using craft glue.
Step (10) – I then created 3 more flower pattern on the rest of the 3 corners of the frame.
Step (11) – Continue to glue the shapes until the frame is filled.
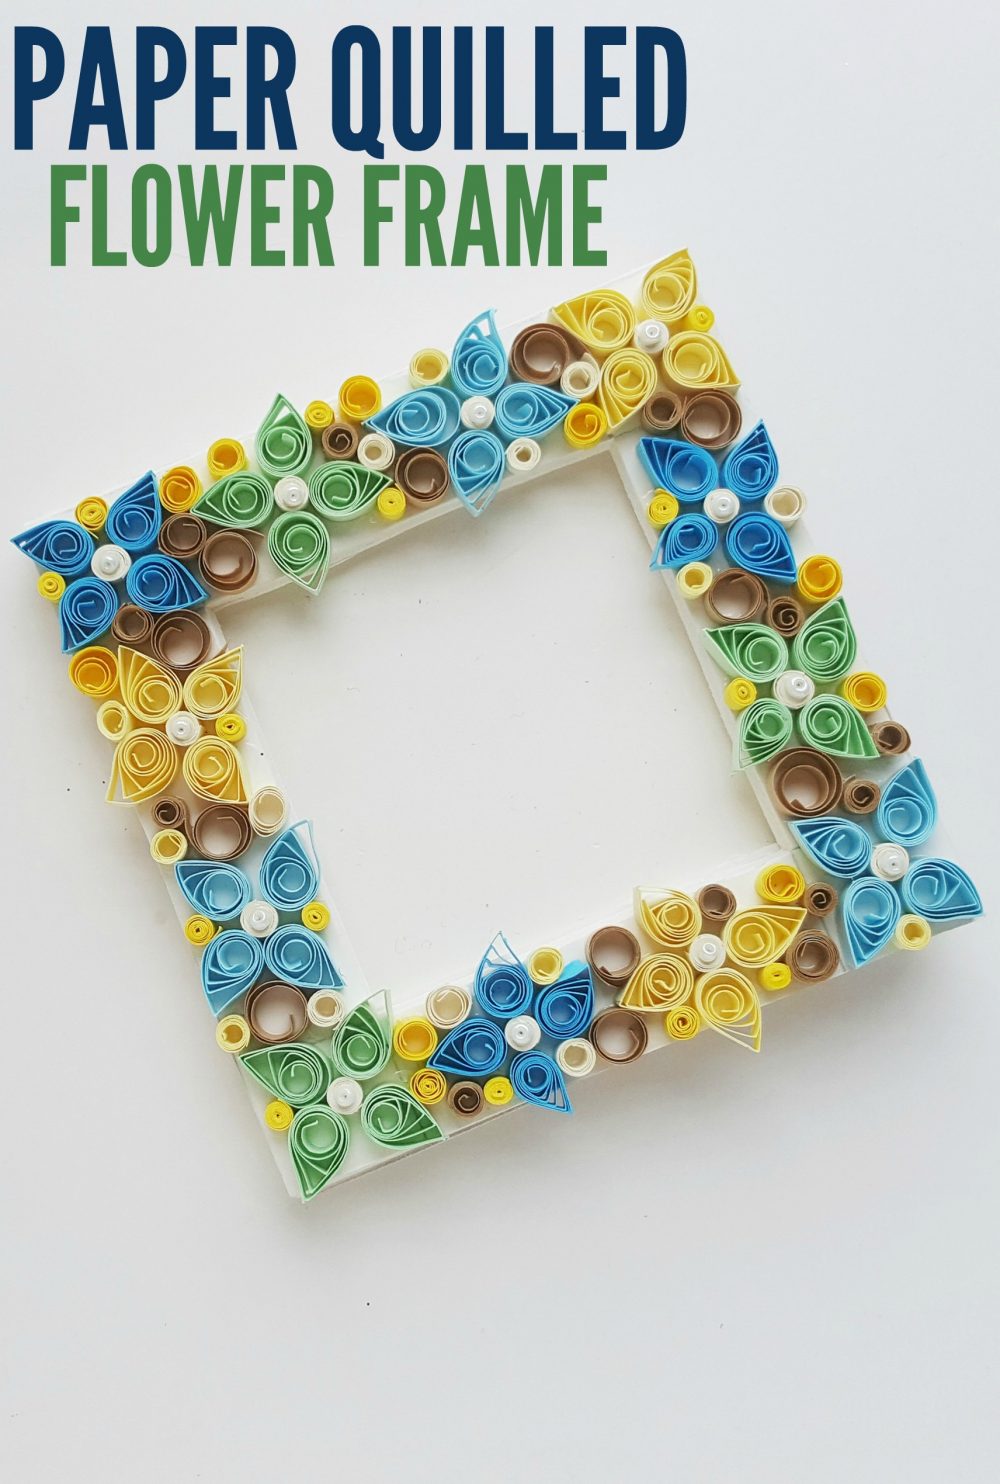
Step (12) – Once you’re done creating the flowers you can use the tight and loose coils to fill up any gaps between the quilled flower patterns.
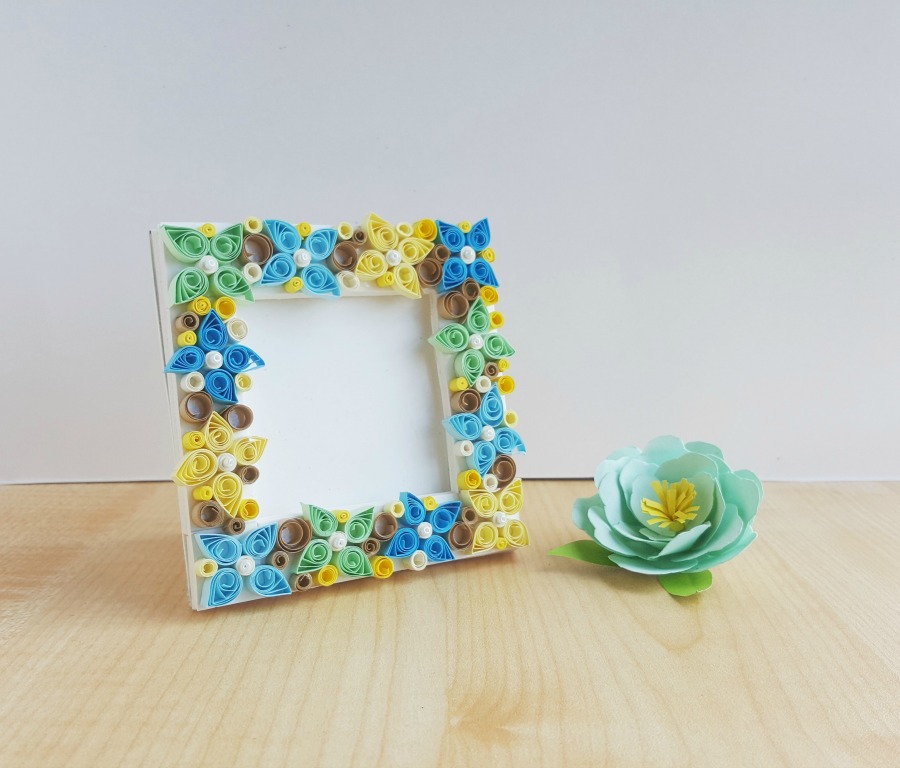
The final result is a truly beautiful paper quilled flower frame. I love how the small quilled paper comes together to create such a unique look that can be customized by any color scheme or decor. A craft that looks impossibly hard but is actually quite easy. If you find your first paper quilled flowers aren’t exactly perfect just keep practicing until they are exactly the way you want them to look.
*This post contains affiliate links. I may receive compensation for you clicking through and making a purchase.


Leave a Reply